Does the Camera Lie?
Tips on taking flattering photos, for the curving essences and everyone.
The saying, “the camera doesn’t lie,” turns out to be—a lie!
Cameras can easily change our faces.
Here’s just two examples:
Photos can make your nose look longer and wider (especially in selfies, as shown here)
Photos can make your face shape look longer and narrower (again, especially in selfies)
Curves and Cameras
The camera may be especially prone to altering curvy facial features.
Why? Angular shapes tend to photograph more accurately:
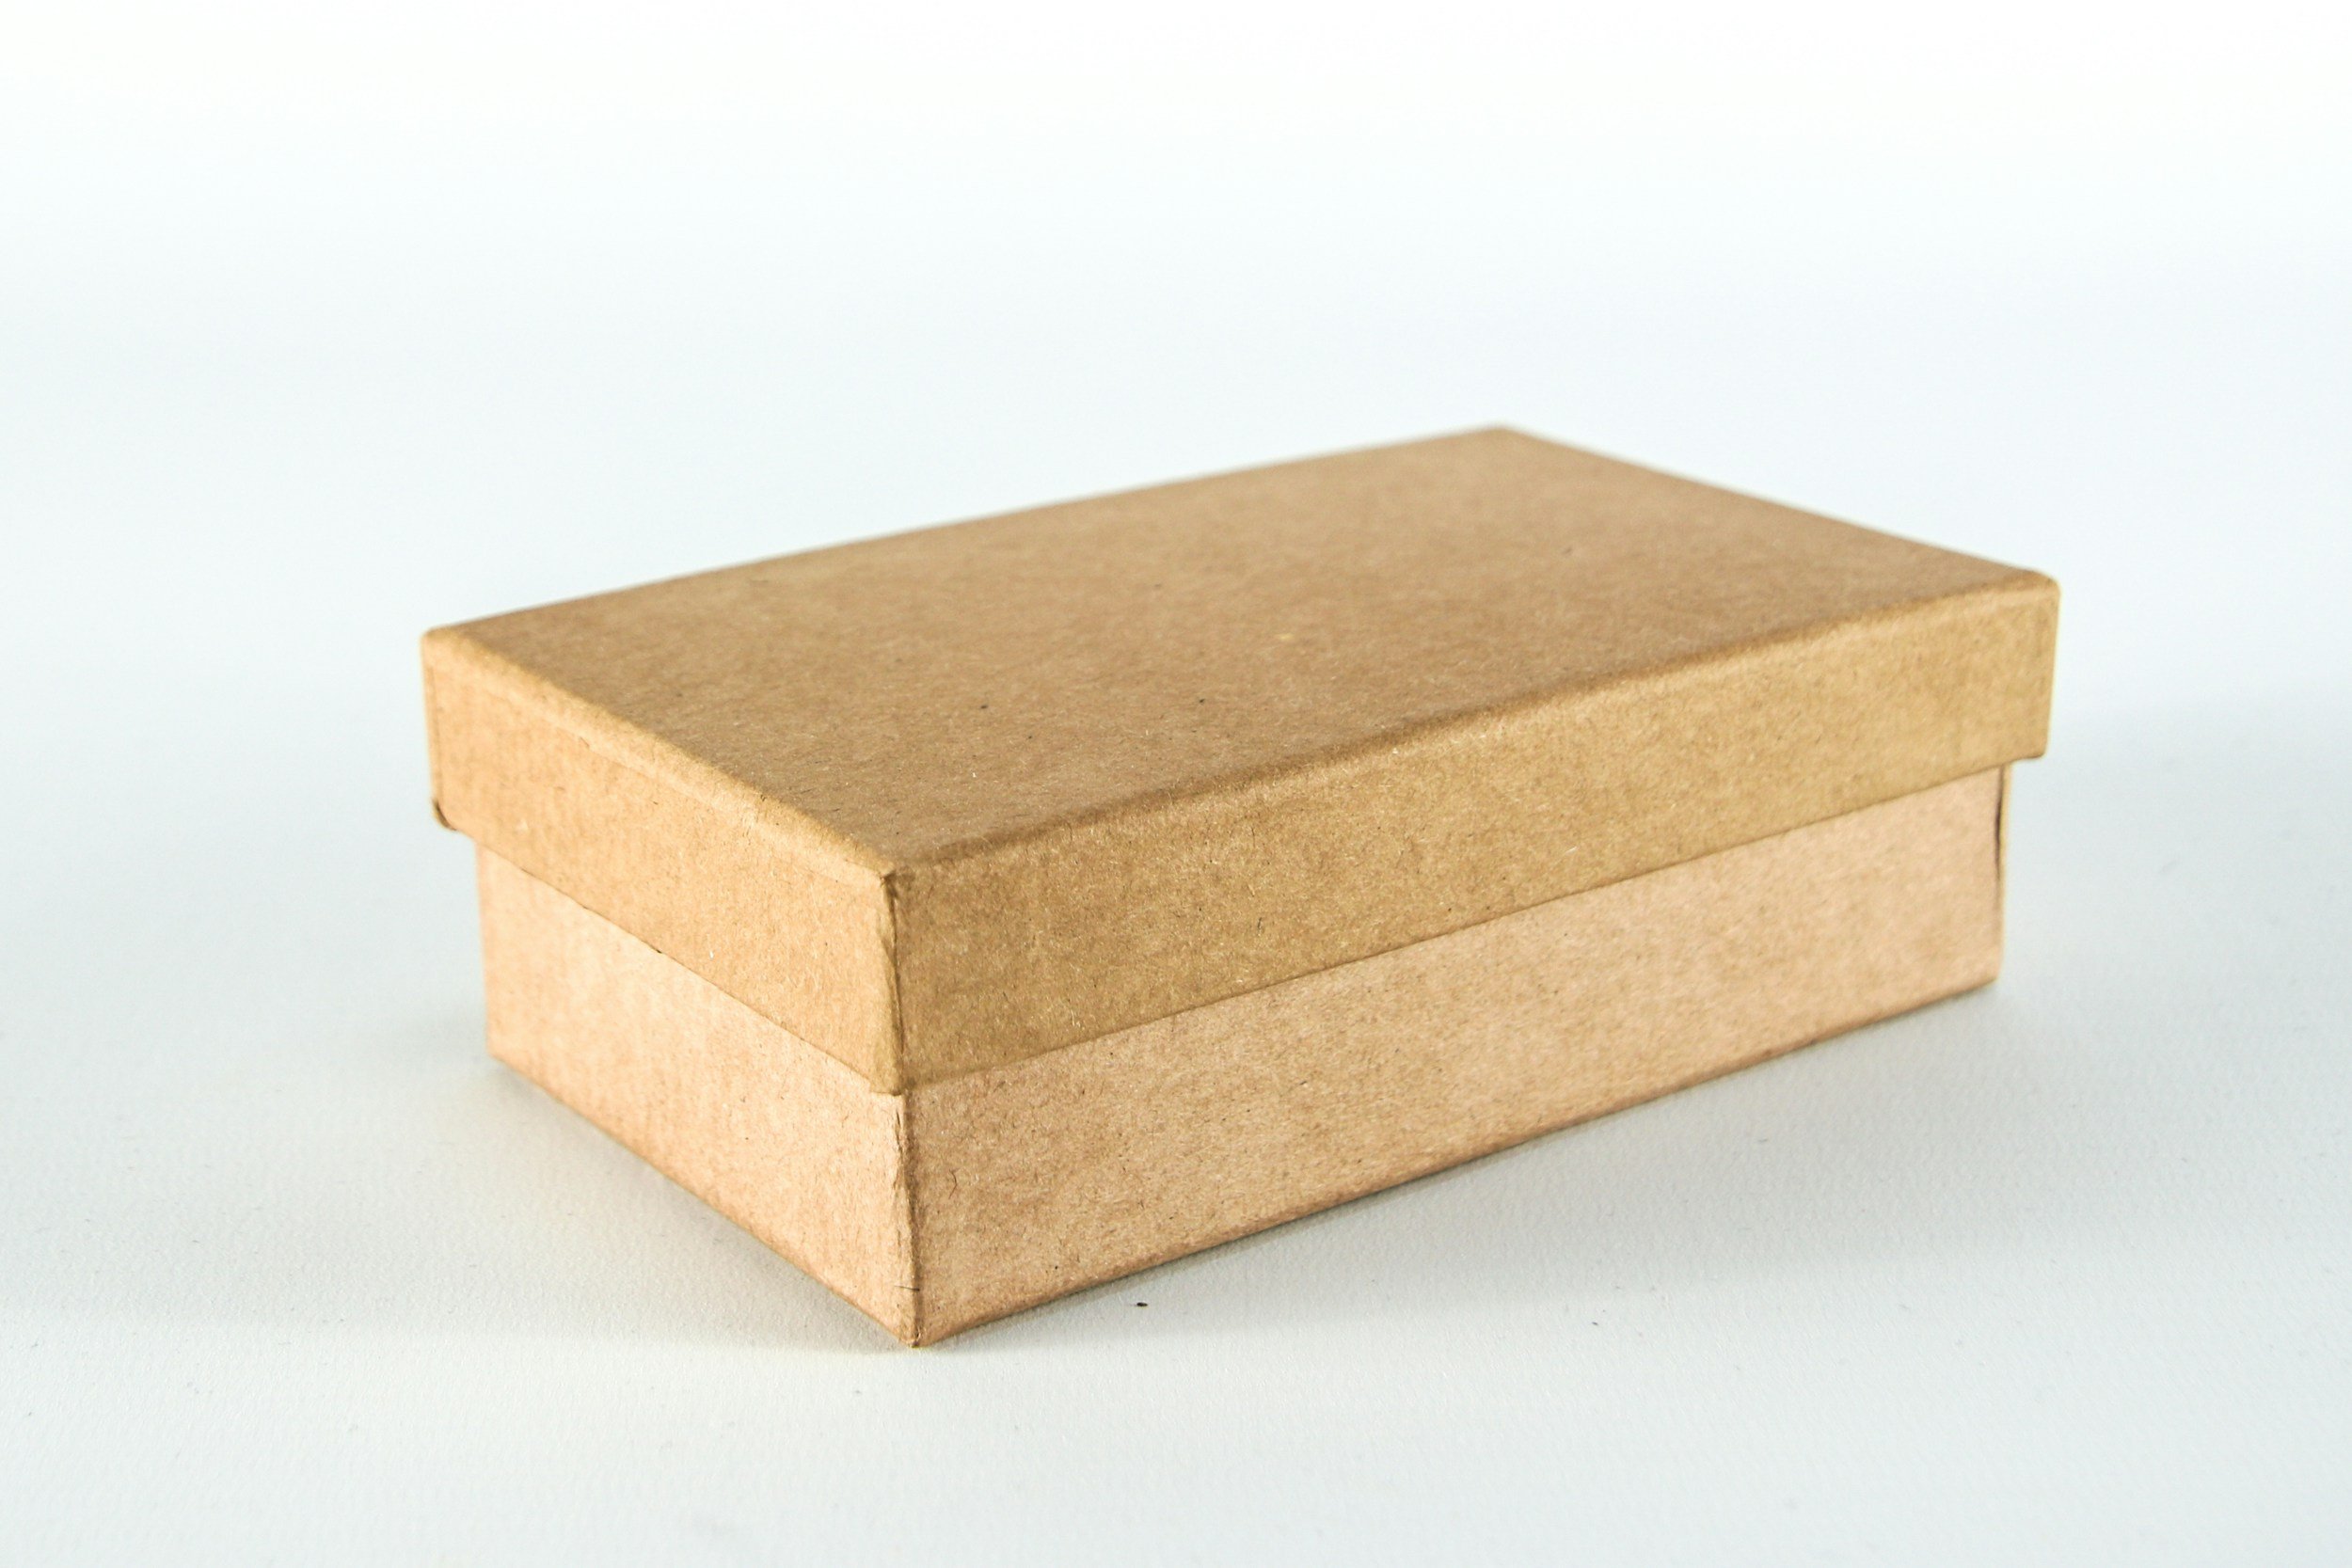
Even in a 2D photo, this angular box feels very 3D.
This is because we can see that its sides are on a different visual plane than its front, and thus that the box has depth: it extends backward in space.
In contrast, this 3D ball appears much flatter:
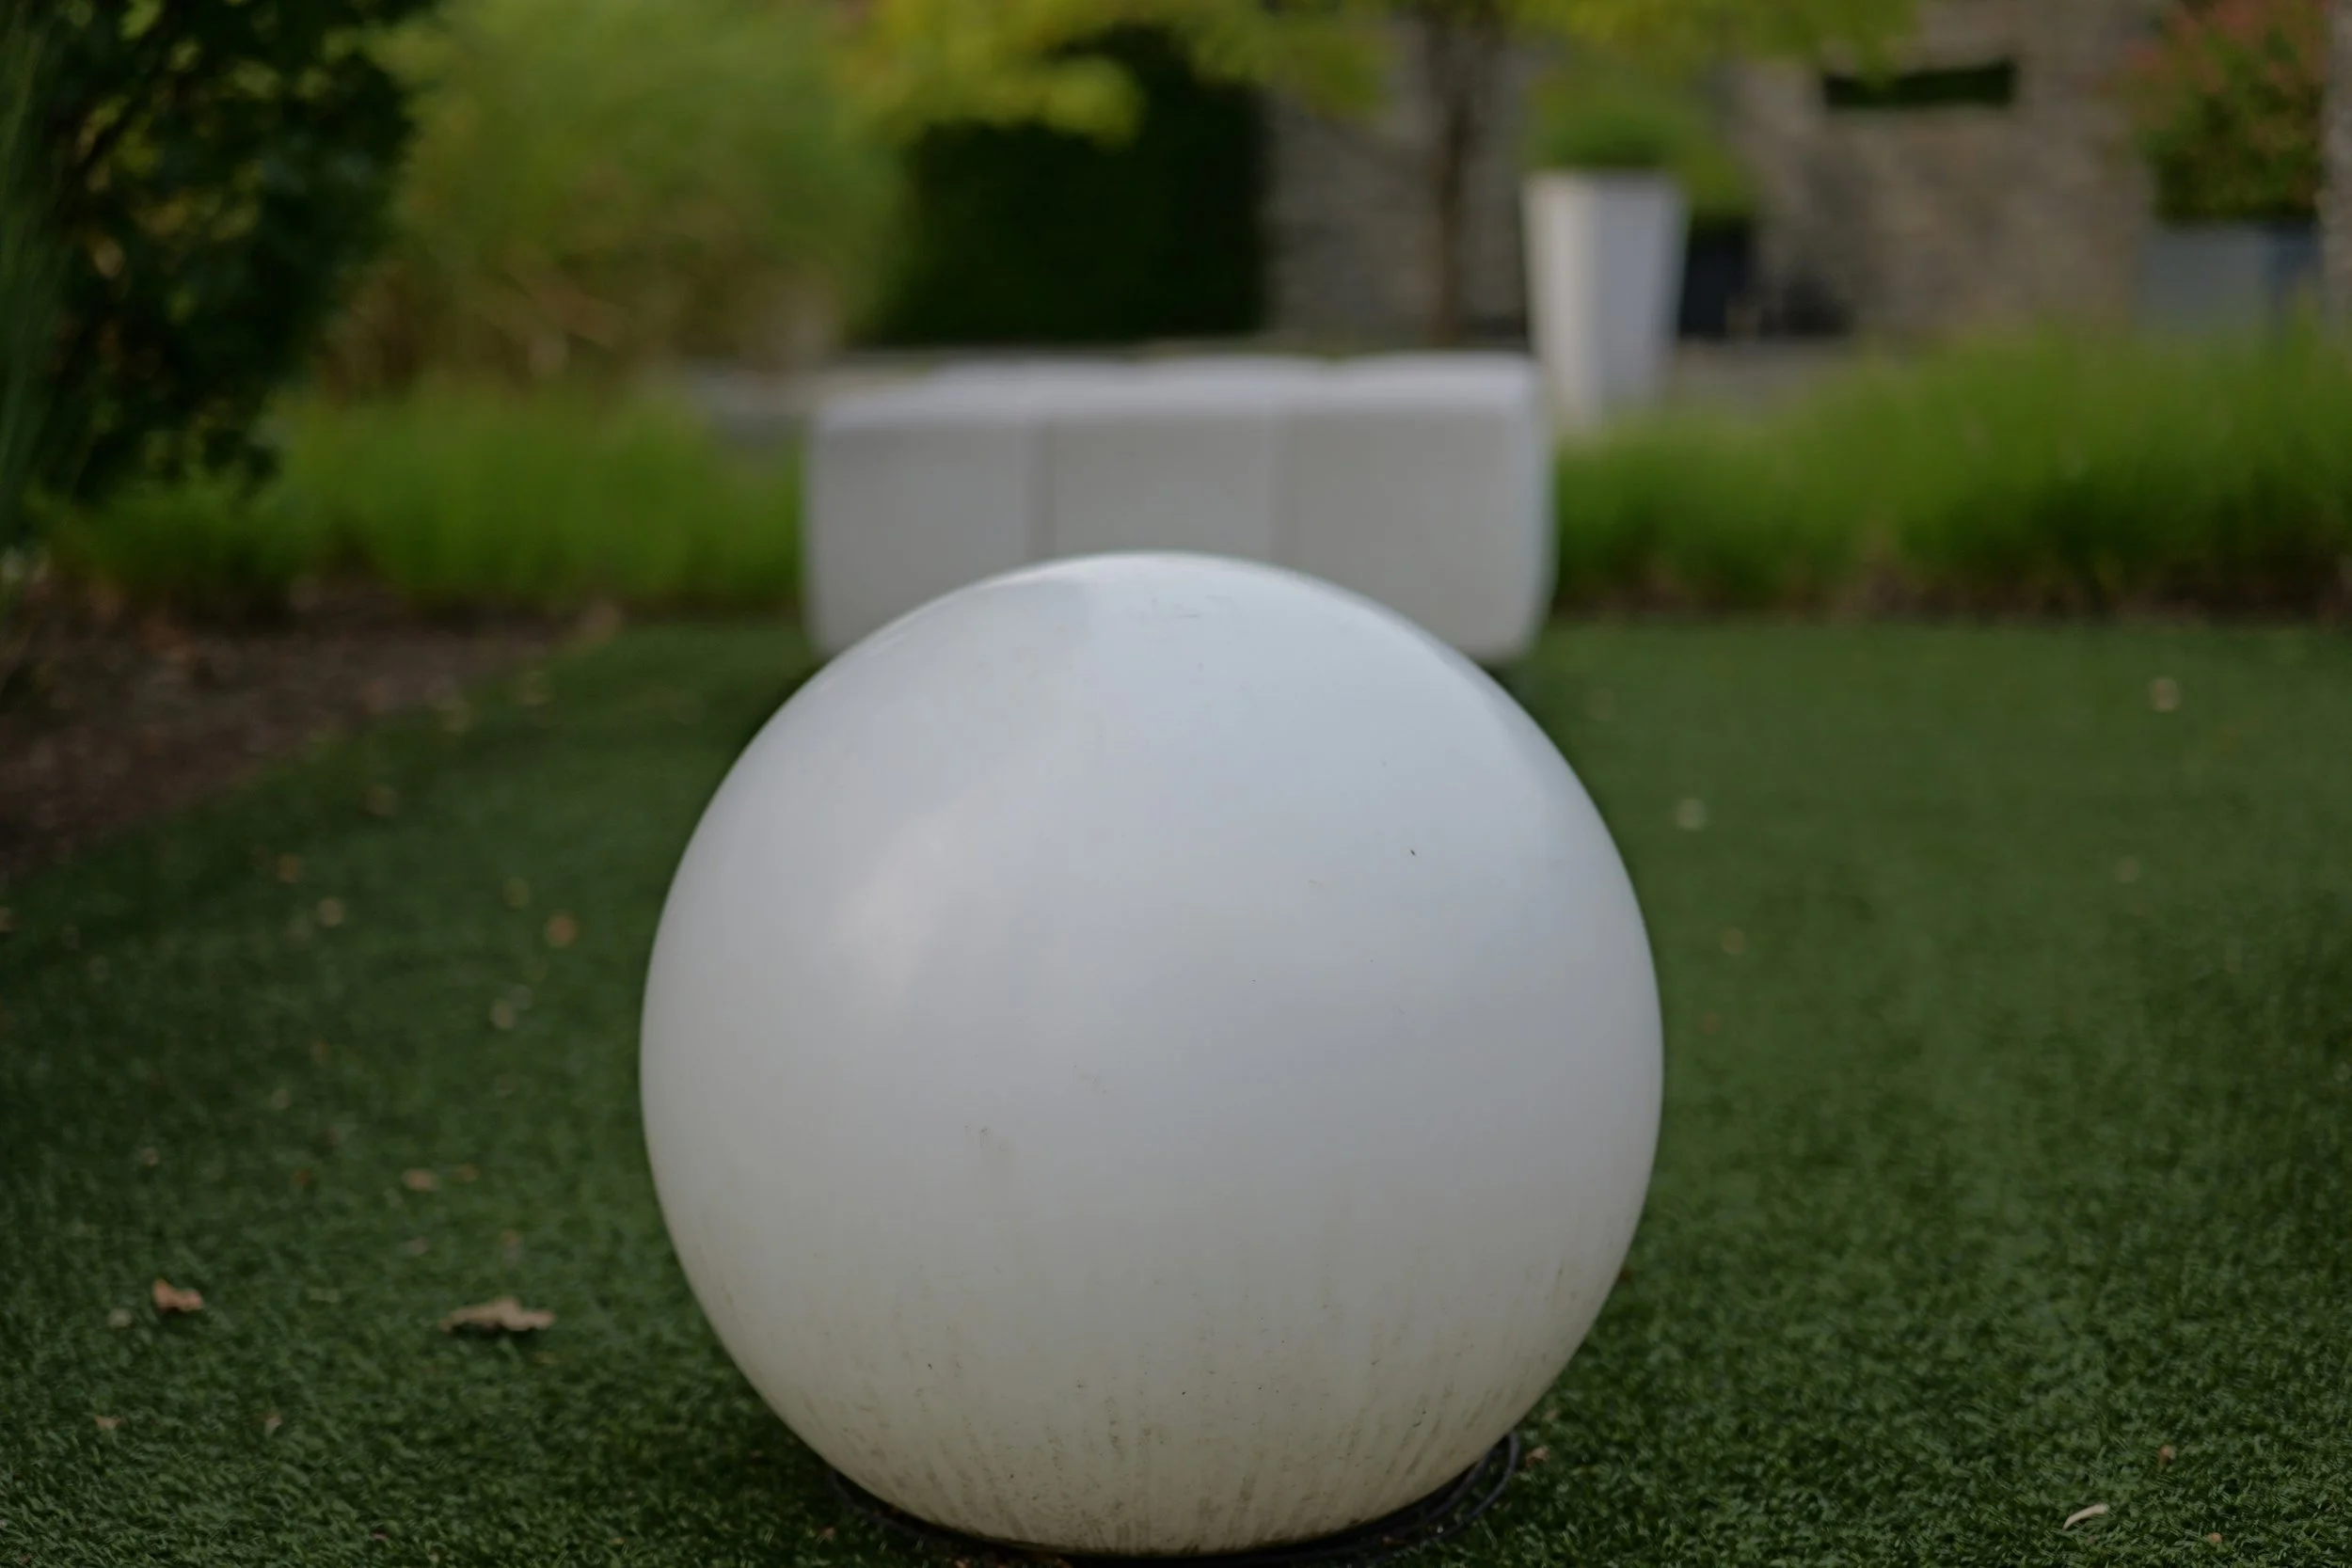
Since curved shapes lack defined sides, we can’t see this ball’s depth: we can’t see it extending backward in space. Instead, the ball appears to exist on a single, flat plane.
Therefore, curved shapes (including curvy facial features) can easily appear flat in photos.
But this ball doesn’t just look flatter in a photo than in real life: it also likely looks wider and larger.
Why? Because:
In real life, this 3D ball of course does have depth, meaning it does extend backward in space. That’s the definition of being 3D
But in photos, some of the backward-extending, 3D parts of a curved shape often falsely appear to be flat, 2D extensions of the shape’s front, thus making the shape’s front look wider. (If this is confusing, check out the “Real Life Example” below!)
This means that rounded facial features (like curvy noses, cheeks, and jaws) may often appear flatter, wider, or larger in photos than they do in real life.
Real Life Example
Let’s say in real life, a curvy nose has these measurements:
front of nose: 2 centimeters (cm) wide
sides of nose: 3 cm wide each
In photos, the front of this nose could potentially look about 4 cm wide, because the photo would combine:
2 cm from its actual front
plus an extra cm from each of the front’s two adjacent sides—since, as described above, when you photograph a curvy object, its front and some parts of its sides can appear to combine into a single, flat, continuous shape.
The point: photos can easily make curvy shapes, especially noses, look wider and larger.
The Problem with Pictures
Importantly, flat, wide, or large facial features are beautiful—the issue isn’t that there’s something wrong with these features.
So, what is the issue? Regardless of your style essences:
Photos can distort your face’s real, authentic features
And your altered features may look less harmonious or less proportionate relative to your own face, or less consistent with how you appear in real life
Or how you appear in the mirror—in the mirror, we often subconsciously position ourselves at distances and angles that help our features look more true to life.
If you’re curious about ways to combat photo distortion, here are:
7 Tips for Taking Flattering/True to Life Photos
1) Distance yourself

The main thing that causes distorted photos: having the camera too close to your face.
So if you’ve noticed that selfies change your look, try taking a photo where you’re positioned at least several feet away from the camera.
You may even want to stand as far back as 5 to 7 feet for optimal results, zooming in to focus on your face.
If the lighting is good, the image is clear, and the camera isn’t positioned at an odd angle (meaning isn’t tilted markedly up or down), then this method can give you a decently accurate representation of your features.
2) Have an angle
Regardless of our style essences, 2D photos can “flatten” our 3D faces.
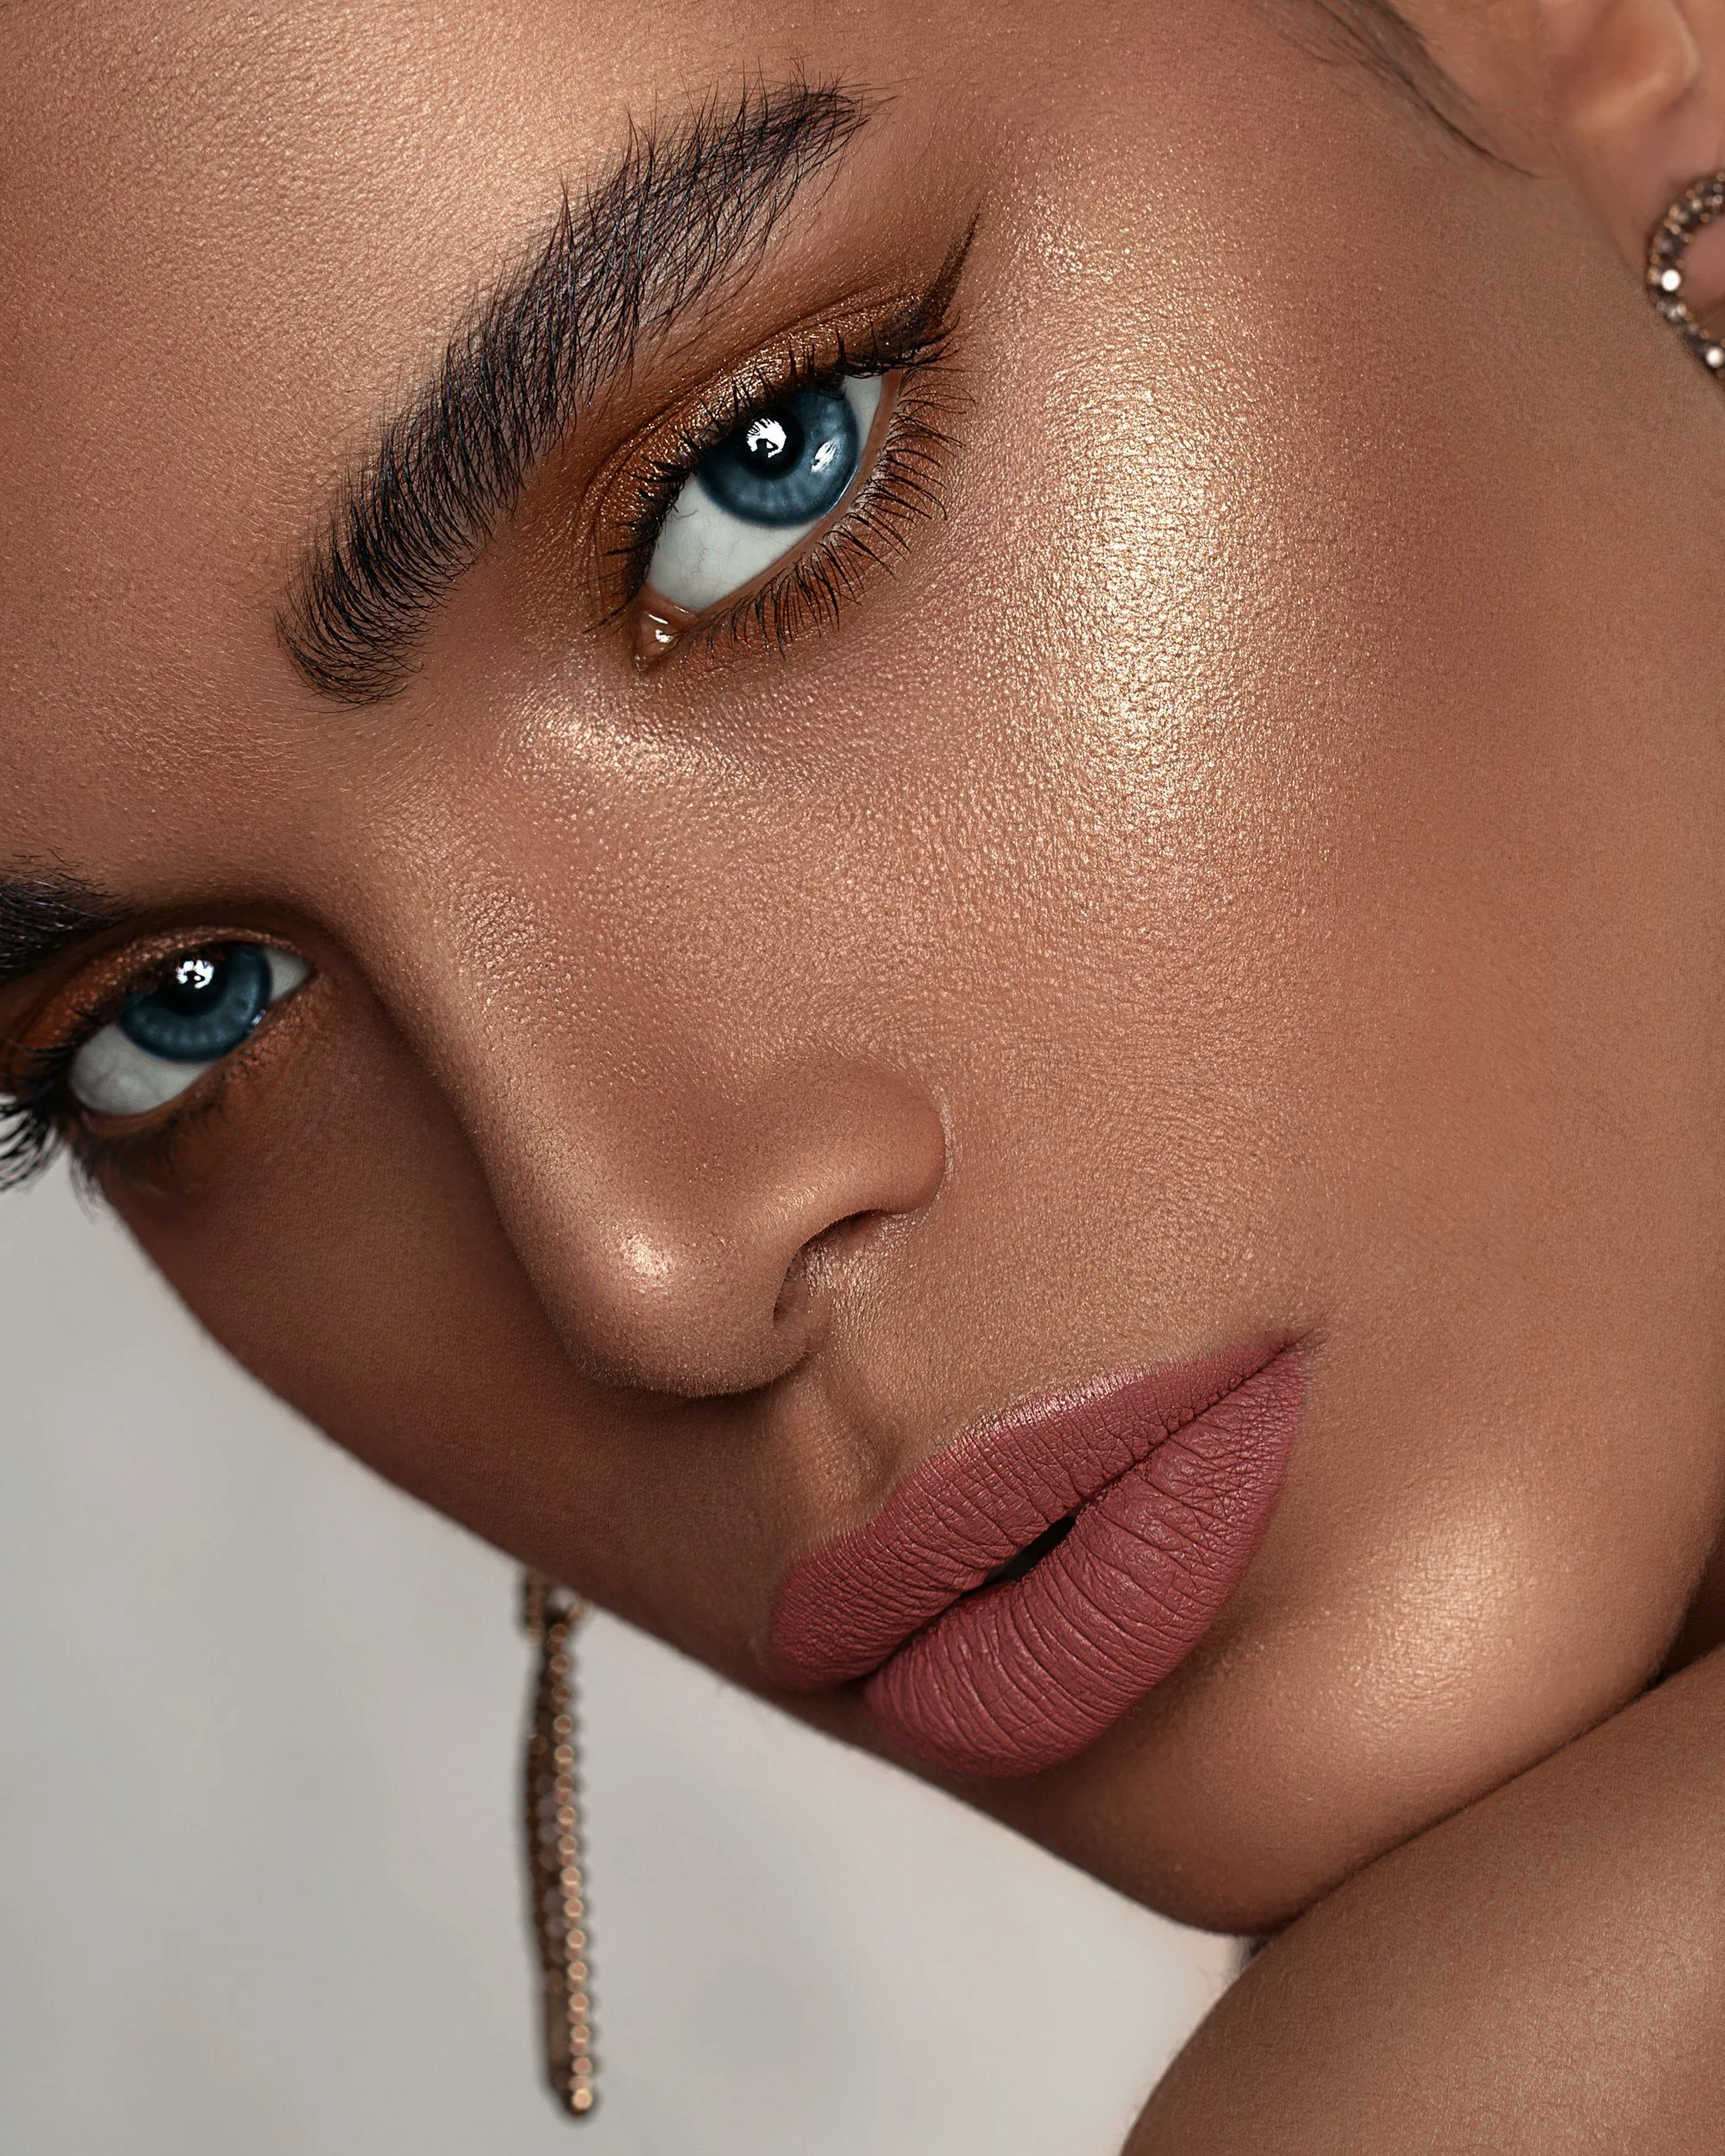
One potential solution: simply angle your head. This won’t be everyone’s favorite method, but sometimes a head tilt can better showcase your face’s contours, helping your features (especially very 3D features, like noses and jaws) appear less 2D:
Model with a beautifully curving nose. Angling her face helps us better see its dimension and contours. (Of note, faces with a lot of Romantic or Ethereal often have noses with notably rounded tips. Noses with angular, pointed shapes often reflect Dramatic and/or Gamine—though there’s definitely exceptions!)
3) Nose tips
Hollywood might imply that the ideal nose is straight and short. But in reality, all nose shapes are beautiful:
Beautifully curvy noses often have “yin” softness (Romantic, Ethereal, or Ingenue)
Beautifully long, straight noses often have striking Dramatic or friendly Natural (though Natural noses often have blunt-edged shapes that may sometimes look curvy and soft, too)
The reason why so many people may dislike their nose? We live in a highly digital world. And the nose tends to be the facial feature that’s most altered by the camera, since:
As discussed, the camera struggles to accurately represent 3D shapes, and our nose is one of our most dimensional features
The nose also tends to be the facial feature closest to the camera, and objects closer to the camera can appear disproportionately larger compared to ones farther back
The tips!
Aside from standing far back from the camera or angling your head, another way to make your photos more true-to-life is to use contour and highlight to mimic real-life shadows:
As seen here on the model, Step 1. is to brush straight lines of contour on the sides of your nose.
Alternately, you can draw contour lines that follow the natural shape of your nose bridge (this can be a good choice if you have a curving nose bridge, whether it is concave or convex).
Step 2 is to put a straight line of highlight down your nose bridge, again as seen on the model. This is often effective for photos, since straight (vs. curvy) lines are less susceptible to photo distortion.
Alternately, you can experiment with putting a highlight line that follows the inherent shape of your nose bridge (either a concave or convex curve).
Essentially, you want to use contour to “push back” any parts of your nose that you’ve noticed the camera exaggerates.
Since our noses are all different, you’ll likely have to experiment to find your favorite type of contour and highlight.
For example, you can try making your contour lines farther or closer together, or your highlight line longer or shorter.
More tips for contour/highlight:
Choose contour and highlight colors from your color season
Choose contour that’s several shades darker than your skin tone (you can even go darker than that if you blend very well)
Check your contour in different lighting—sometimes contour that looks right in one type of lighting can appear too harsh in different lighting (e.g, indoors vs. outdoors)
If the contour feels too noticeable, blend it more or choose a lighter shade
You can also add well-blended contour beneath your cheeks, which increases the impression that all the contour on your face (including your nose contour) is a natural shadow
Don’t underestimate highlight. Using highlight down the bridge of your nose or on your nose tip (or just above the tip if you want to make your nose look shorter) can be extremely flattering on camera:
Here a strong dot of highlight is added not on the actual tip of the nose, but just above. This can be a good strategy if you want your nose to look slightly shorter in photos. You can also add contour to whatever part of the nose tip you want to recede in photos.
Again, you’ll want to experiment to see exactly where to position your contour and highlight
Do your style essences matter for the shape of your contour/highlight?
Yes! What you likely don’t want to do is dramatically alter the shape of your nose, like by trying to make a long nose look very short.
This is because the general shapes of your features are already harmonious with your overall beauty.
So while you can experiment with highlight and contour however you want, using them in a way that honors the general shape of your nose will likely get better results than trying to create an entirely new shape.
Do your style essences matter for the texture of your contour/highlight?
The effect of highlighting and contouring the nose is meant to mimic the look of actual light and shadows—it’s not really supposed to look like makeup.
This means that natural-looking highlight and contour can work for every style essence.
For contour, choose matte textures. This mimics the look of real shadows.
For highlight, you have different options, but one that can work well for all the essences is to use a concealer and/or powder for your highlight color, or even a matte eyeshadow.
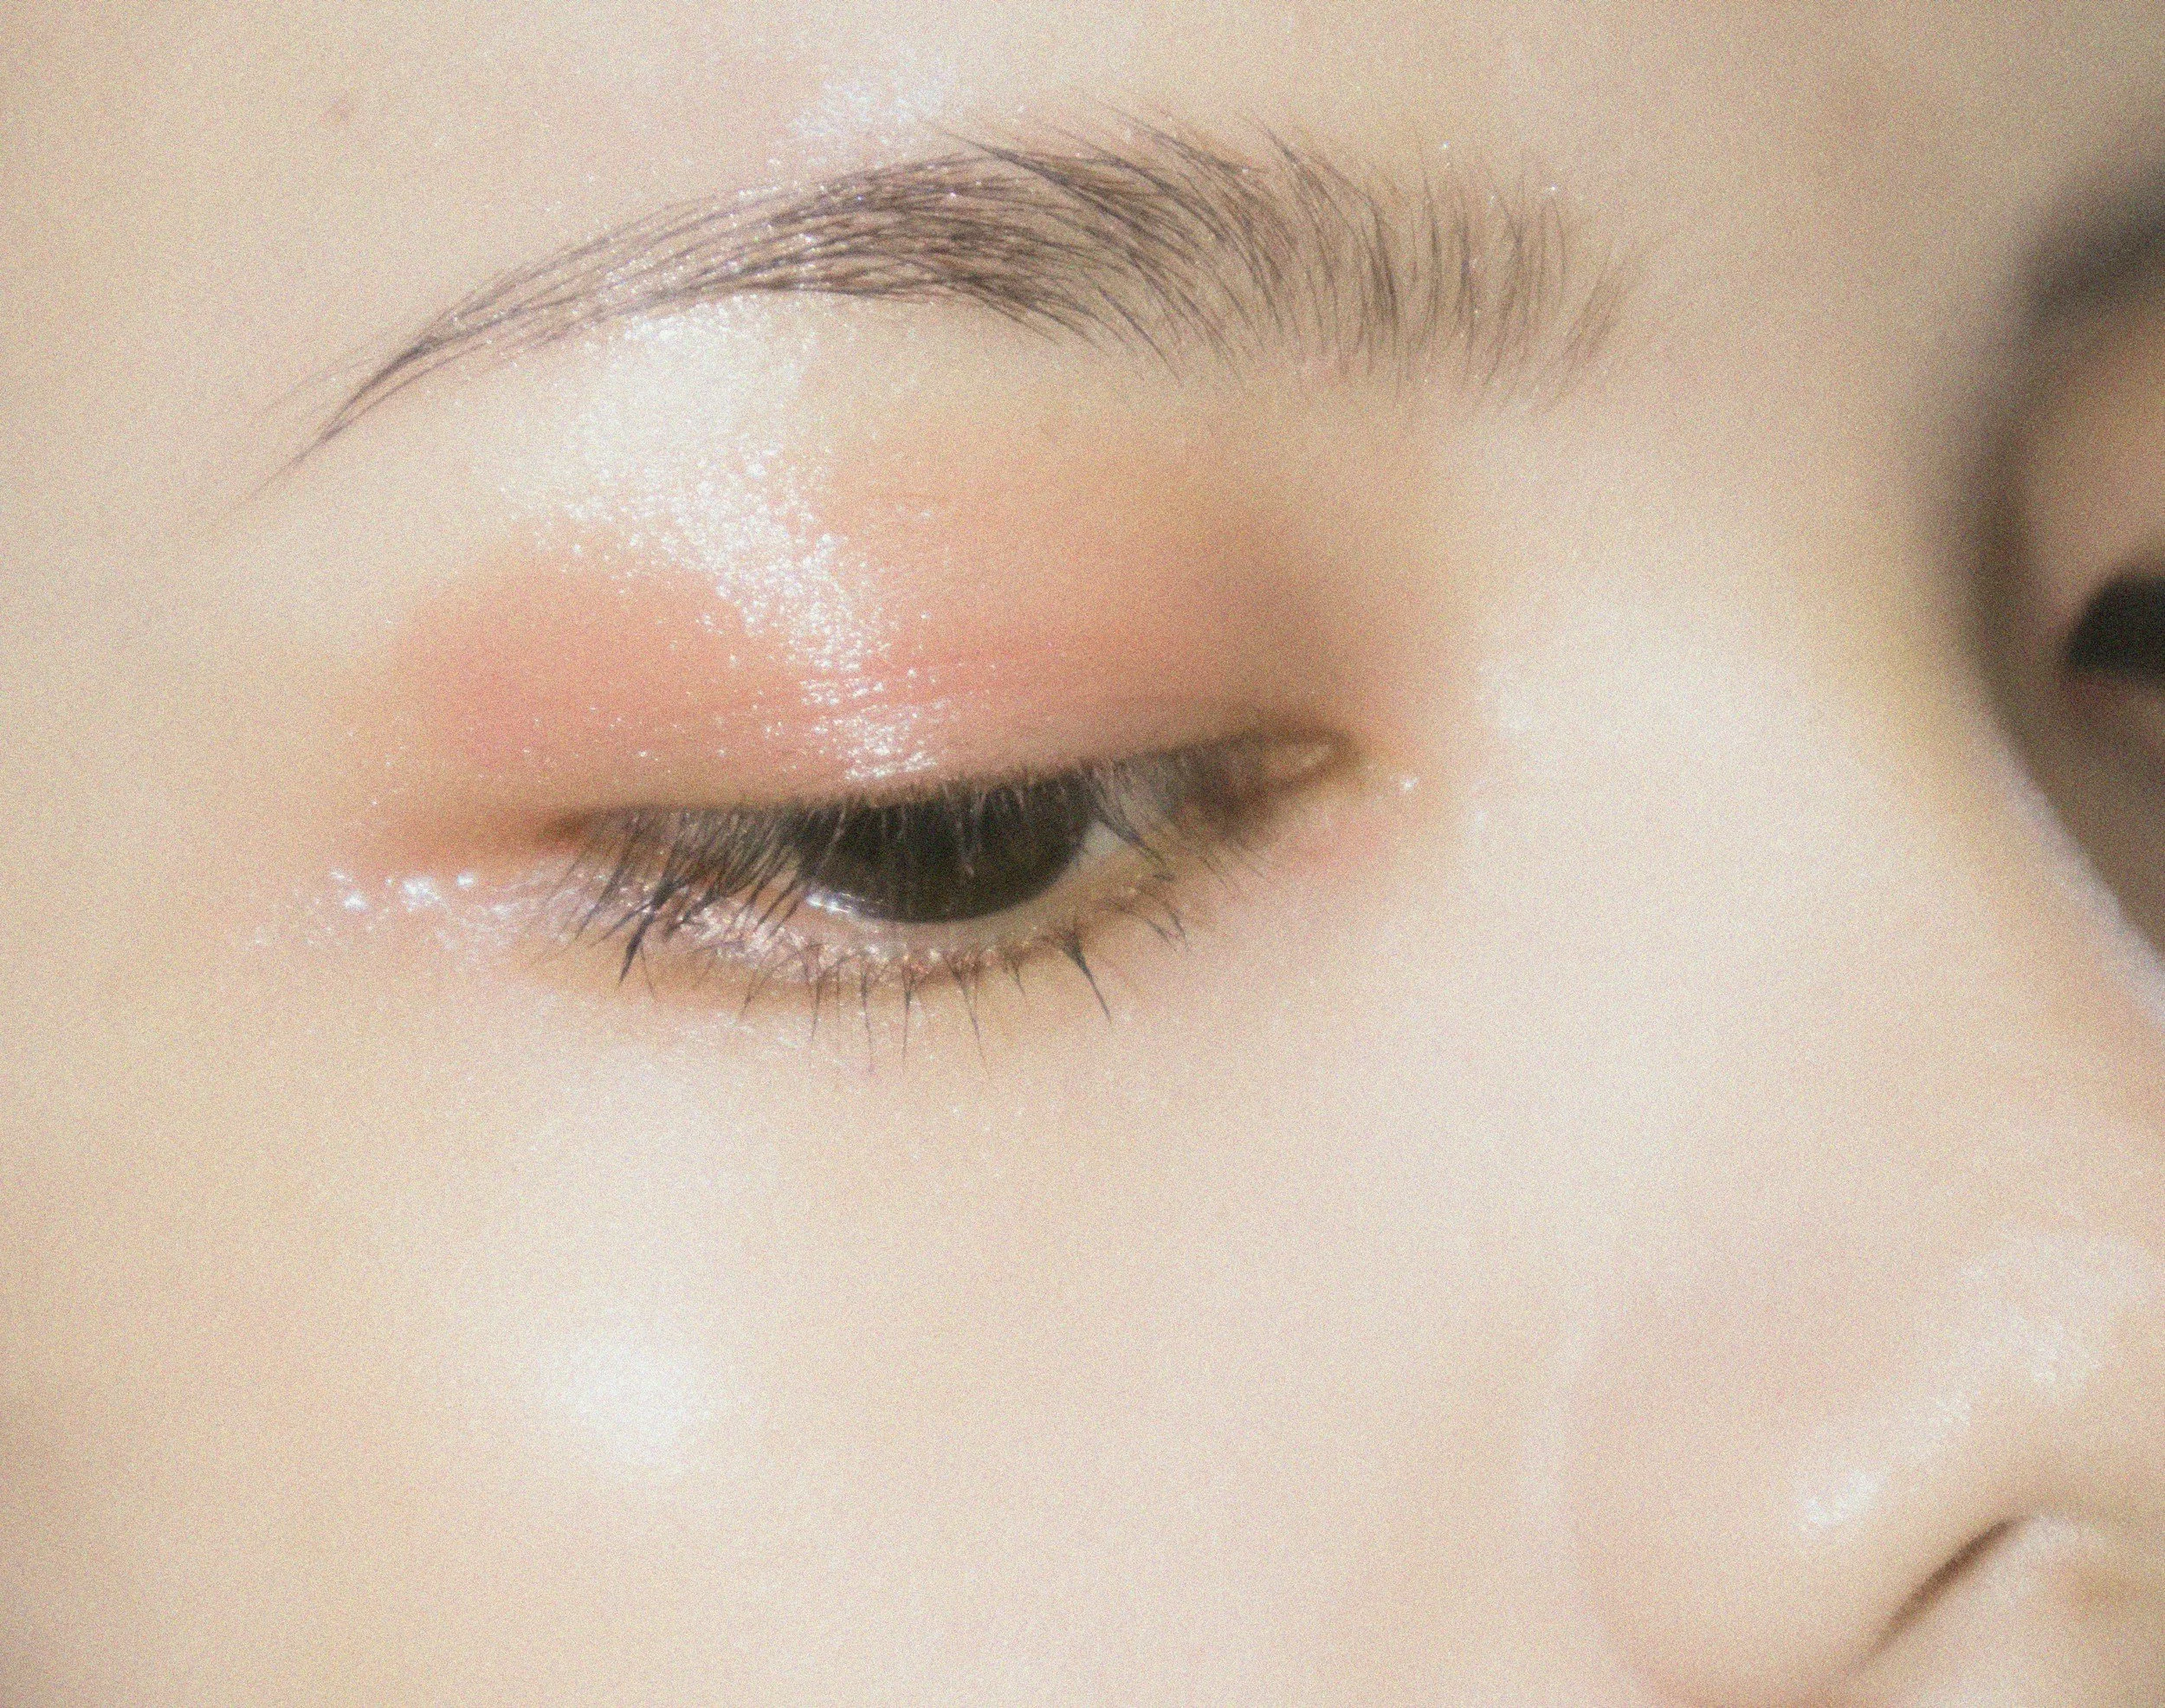
4) Eye emphasis
Your beautiful eyes may sometimes deserve a little extra emphasis on camera, since:
Our eyes tend to be set back a bit farther than our other facial features
The camera tends to exaggerate whatever is closer to it
If so, you can experiment with making your eyes look larger with makeup, especially in horizontal space. Doing this can help balance the eyes with your other features.
Some great options include using winged eyeliner or eyeshadow applied at the outer corners of your eyes and extending horizontally outward.
Using a neutral eyeshadow that mimics a real-life shadow can work for all the essences:
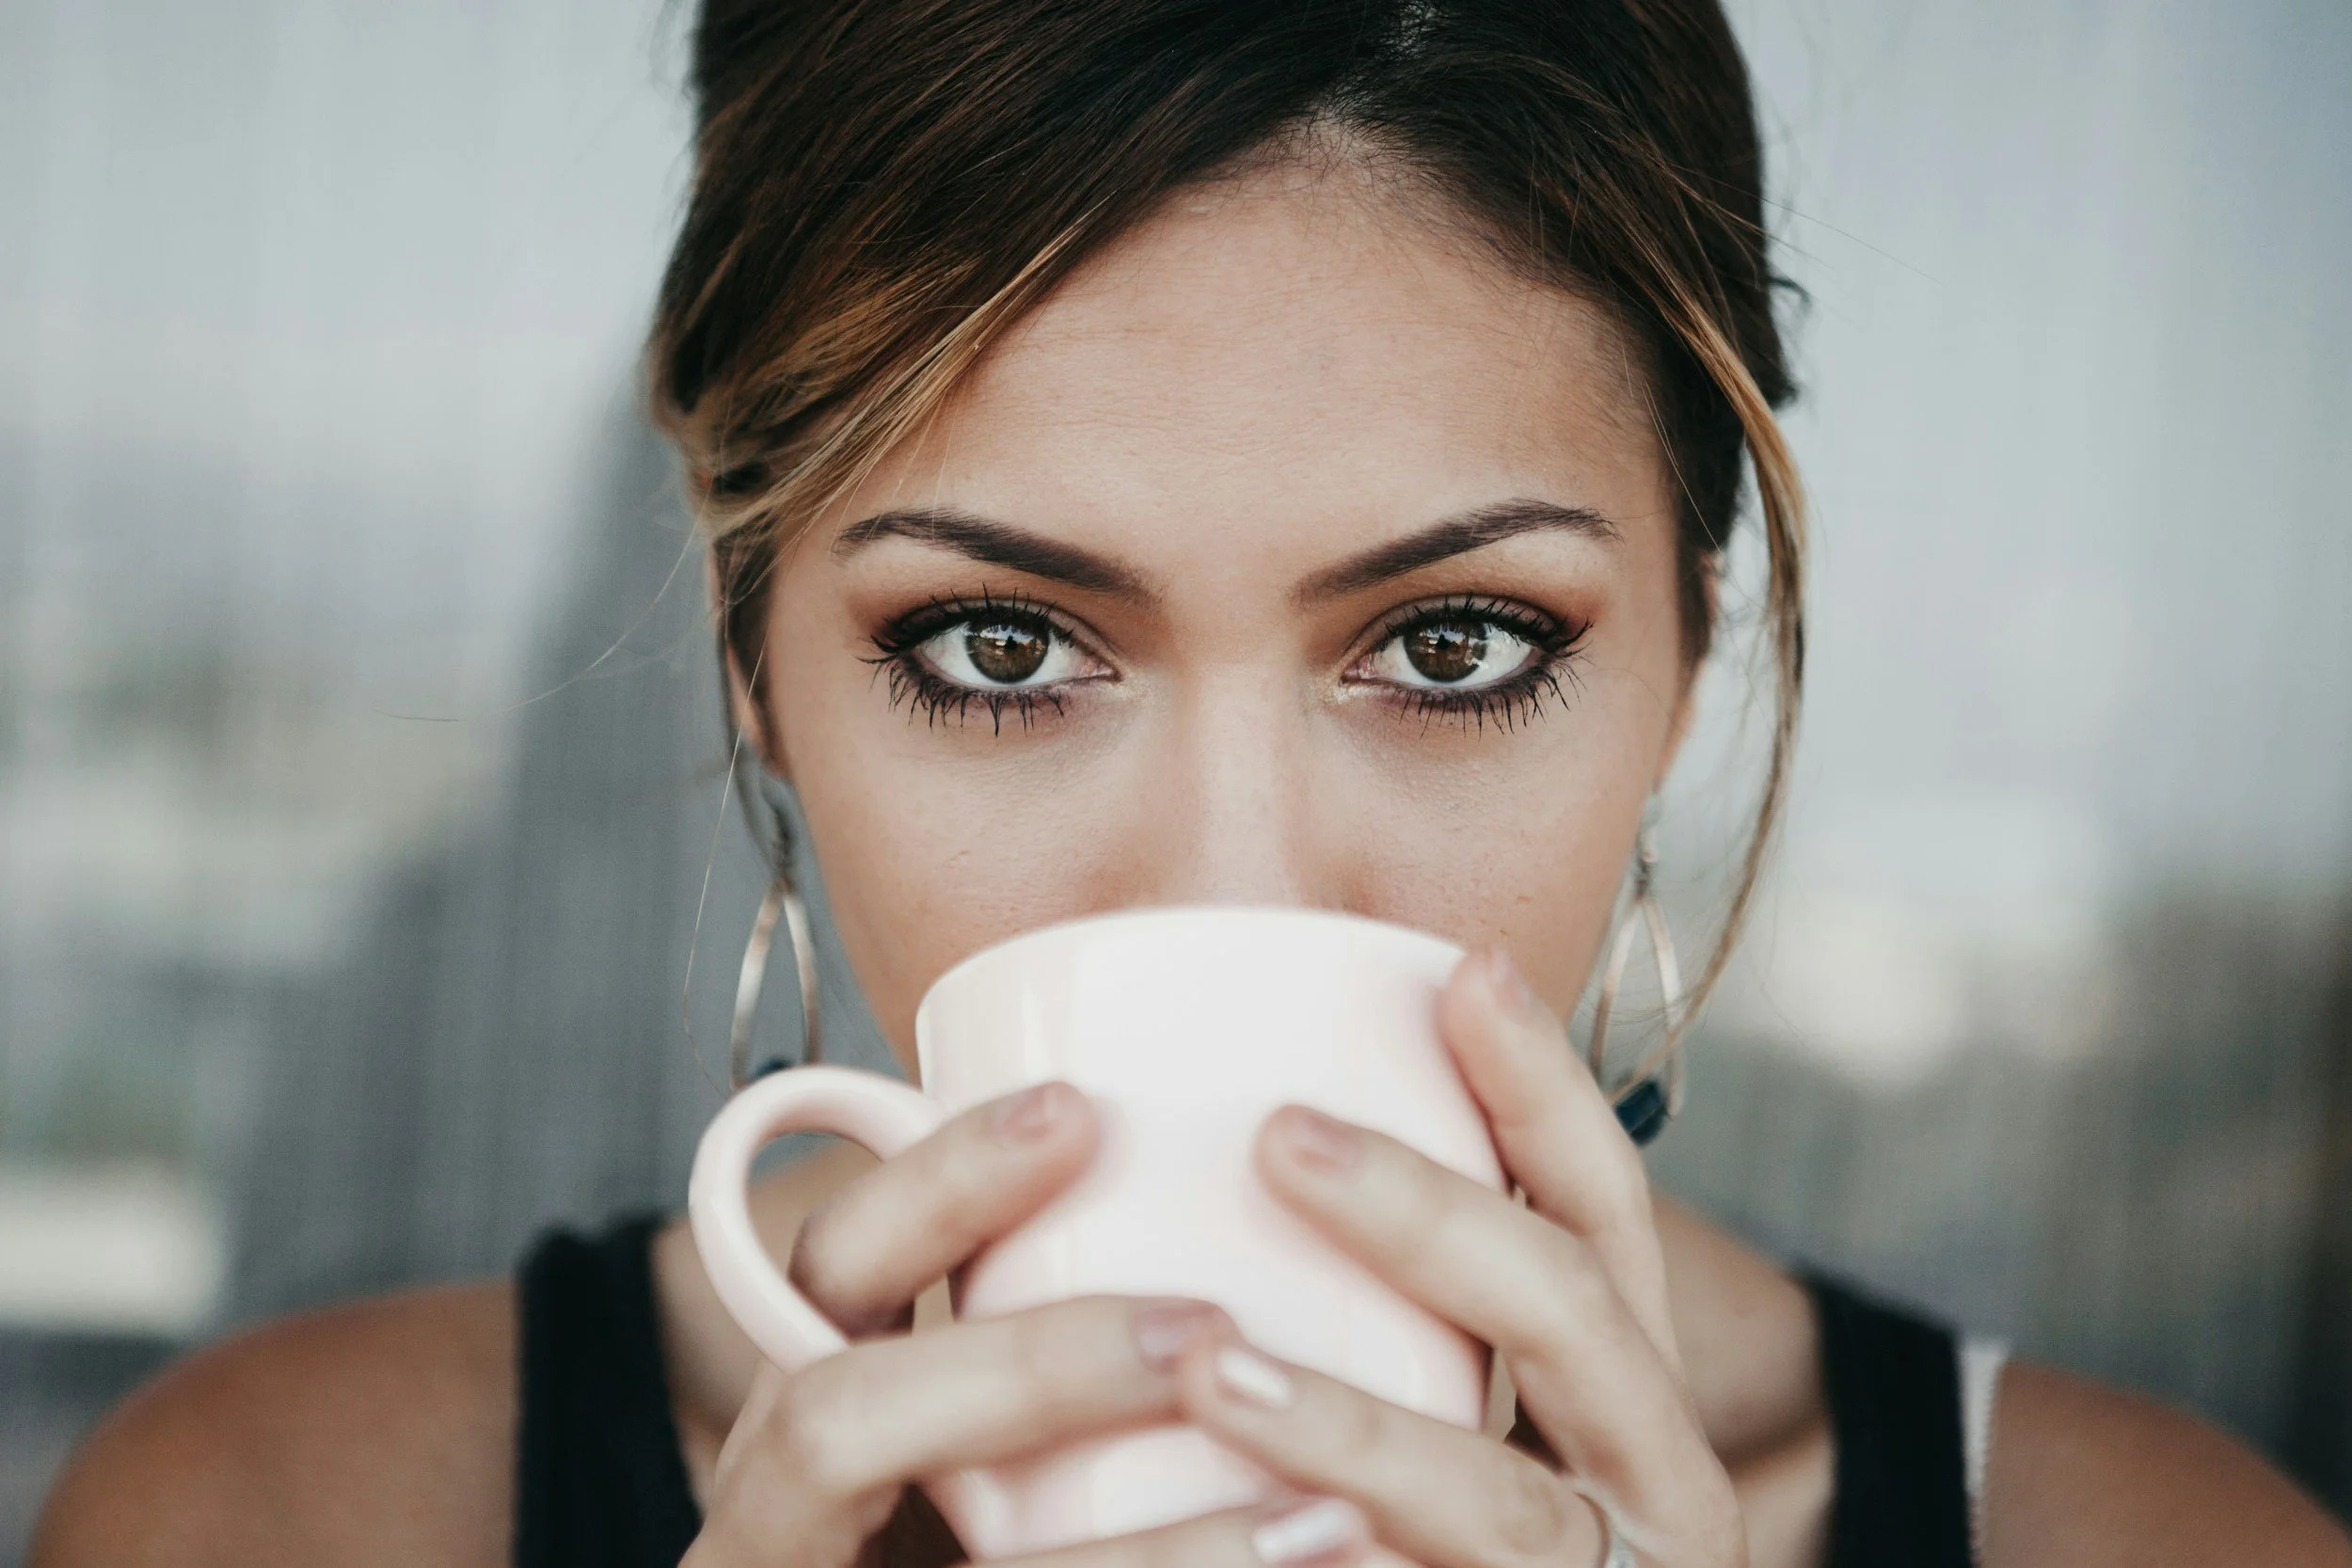
Here, matte eyeshadow creates a somewhat natural-looking shadow at the outer (and optionally inner) corners of the eyes, making them look horizontally wider in photos. (Using a mug as nose contour is unnecessary!)
You can also customize your eye emphasis to your style type.
The specifics need a separate post, but in general, choose:
More blended, curving shapes for Romantic, Ethereal, and Ingenue
Straighter, more precise shapes for Dramatic, Natural, Gamine, and Classic
5) Eyebrow (de)emphasis?
The camera can also change the look of our brows:
In bright lighting, eyebrows can sometimes look lighter in photos (and if you naturally have delicate or sparse brows, they may even seem to disappear entirely)
In lower lighting, brows can sometimes look darker or more intense on camera (this is especially true if you naturally have dense or prominent brows)
Importantly, it’s not inherently an issue if your brows change in photos!
But if you want them to look more true to life:
It’s very easy to make delicate brows appear more emphasized in photos: simply use a darker brow powder or pencil than you do in real life (or fill them in for photos, even if you don’t in real life)
It can be a little trickier to make intense brows look more true to life on camera. Potential options include filling them in with a lighter color for photos, or even putting a lighter powder color on top of your brows. Alternately, you could tweeze, trim, or shape them differently to thin them (though caution is warranted, since you’ll have to wait for them to grow back if you dislike the results)
And of course, it’s also 100% ok to just let your brows be, even if they look different on camera than in real life.
6) Lighting

This may be the world’s most obvious picture-taking tip, but lighting can make or break a photo.
Light is particularly important for showcasing the dimensionality of the face—so it’s critical for the curving essences, but really for everyone.
For best results:
Use natural lighting or soft, diffused lighting—ring lights or similar are great because they’re bright but extremely diffuse
Avoid lighting that casts strong shadows on the face, especially harsh overhead lighting
The best time of the day to take photos in natural light is the hour right after sunrise or the hour right before sunset. Taking photos at other times, especially mid-day, can lead to unwanted shadows that over- or under-emphasize certain features
7) Cameras lie
Cameras really can distort reality. Understanding this may help us approach photography with a more forgiving, realistic mindset.
And while there’s lots of things you can do to take true-to-life photos, it can involve some effort and planning to get the ideal picture.
So it’s also reasonable to accept that a photo may not perfectly represent your face, and be ok with that.
Cameras lie about the body, too
The camera tends to add weight to bodies for the same reason it tends to add weight to facial features (especially those with curves): 2D photos can fail to accurately represent 3D shapes.
I focus these posts more on faces, but it’s worth noting that photo distortion affects bodies, too.
Does the camera change our style essences?
Photos can absolutely change the look of our faces. Can they also change our style essences?
I’d say: typically no!
I’m somewhat surprised by this answer, because I really think that photos, especially selfies, can dramatically change the way we look.
But when I type celebrities, I always type them at least two separate times, to minimize errors. I’ll often use a far-away shot for the first typing, and a close-up shot for the second, or vice-versa.
And what I’ve overwhelmingly found is that I get the same results whether I type people from a selfie or a far-away shot.
I don’t totally know why this is, but I’d guess the main reason is:
Cameras can certainly alter the look of our literal features,
But the vibes of our features—whether we look more sweet or intimidating or alluring or friendly, etc.—will tend to be preserved even if our literal features look different than they do in real life.
Your Romantic nose will still look soft and alluring on camera, even it now looks larger relative to your other features. Your Natural jawline will still look strong and competent, even if it looks wider (or in some cases narrow) than it does in real life. Your Ethereal eyes will still look wise and soulful, even if in photos they look a bit smaller relative to your other features. Etc.
Ultimately, style analysis is about the figurative qualities of our features, rather than every exact nuance of their literal shapes. The camera seems to robustly preserve a face’s vibes.
The exception may be if you take an extremely close-up selfie, like a holding-the-phone-an-inch-in-front-of-your-face close-up, or you take the photo at an extreme angle, like from the ground so your chin looks much larger than usual.
In these cases, the literal changes might be enough to alter the vibes of your face. But for typical selfies, and typical photos in general, my experience is that your style essences will still be accurately represented.
If you’d like a style analysis but are concerned about camera distortion, I would say:
You don’t have to worry about it unless you’re taking a photo from an extreme angle or ultra close-up
If it’s still something you are concerned by, you can take a photo in well-lit lighting from at least several feet away (up to 5 or 7 feet)
And while it’s entirely optional, I’ve also had a couple clients send me short (10 seconds or less) videos of their faces, where they rotate their head to show what their face looks like in motion. If 2D photos seem to really alter your features, a video can be helpful for showing the face more how it looks in real life.
Are straight-on photos the best representations of our faces?
Before writing this post and reflecting in-depth about how the camera changes faces, I would have almost definitely said yes.
Now, I’m not so sure. I think for me personally, because I’ve spent years mostly typing people’s essences using straight-on photos, this tends to be the method that gets me the fastest and most accurate typing results. I’ve learned patterns in the style essences largely by studying people straight-on.
And I do like having a standardized perspective of looking at people’s faces, at least for the purpose of Pinterest pins, where I try to show the patterns across the different types. So I’ll probably continue to pin mostly straight-on photos of people.
BUT it’s important to emphasize that especially for selfies, our faces really can change in a straight-on shot.
If you feel this is true for you, then it’s likely that a slightly head-tilted or three-quarter-view selfie is a better representation of your real-life beauty.
Ultimately, if you’re trying to determine your style essences (or your most flattering hair/makeup/outfits), you may find it helpful to rely on straight-on and three-quarter pictures, and see if you get the same results when you observe yourself in both kinds of photos.